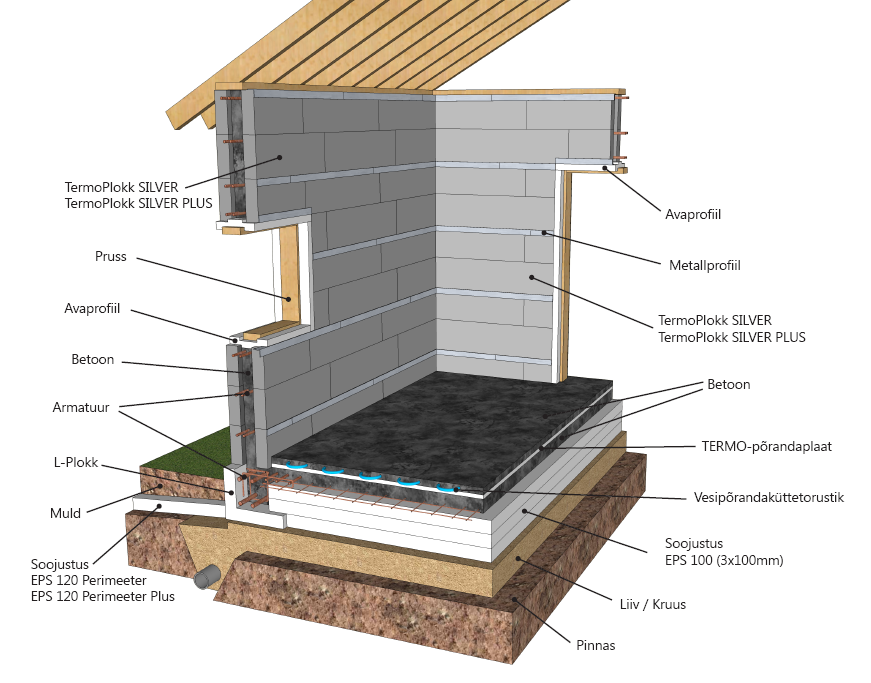
 Building a house is a very big investment for every home owner and therefore it is especially important to choose the right solutions for fulfilling your dreams. Nowadays, the key words for construction are energy efficiency, energy saving, fast, favorable and simple construction process as well as durability and low living costs.
TermoPlokk is one of the best solutions for building houses that meet those requirements, and it is the most perfectly suitable material among all known materials to build modern energy saving houses!
TermoPlokk product series is created for everybody – for those who are planning to build a house themselves, as well as for those who will get help from competent building entrepreneurs.
TermoPlokk energy saving construction solution is ideally suited for the the construction of modern energy saving, low-energy houses, passive houses, nearly zero-energy houses or zero-energy houses.
TermoPlokk is:
- Fastest installable
- With the lowest U-value or energy saving
- Cheapest to install and use
Build your house with our products and your home’s energy efficiency and energy saving will be granteed!
- Building a foundation (work instructions for L-Plokk)
- Building walls (work instruction for TermoPlokk)
Plate foundation is the mostly used foundation type for small residential houses in places, where the soil replacement and backfilling work volume is rasonable.
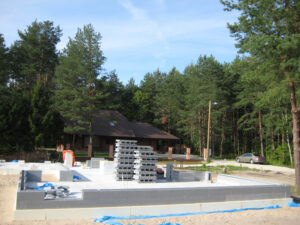
Hereby, we describe shortly the work process how to build an insulated plate foundation without thermal bridges using L-Plokk blocks.
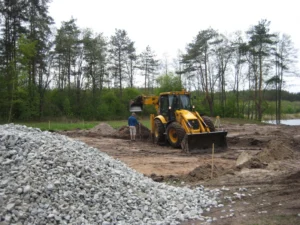
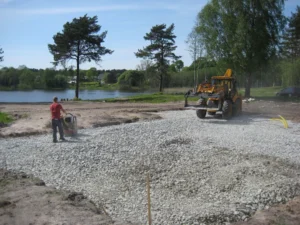
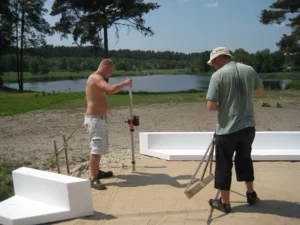
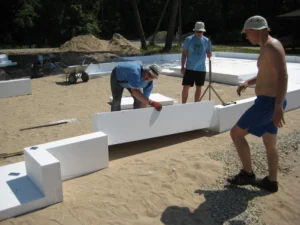
Firstly, you have to carry out excavation works. For that, remove topsoil under the foundation (1), about 1.5 m wider than the foundation edge. Fill the ground to the needed height (2, 3), by using flintstone or gravel. Tighten in layers, plumb the area under the foundation and measure out the external edges of the foundation (4).
- 1
- 2
- 3
- 4
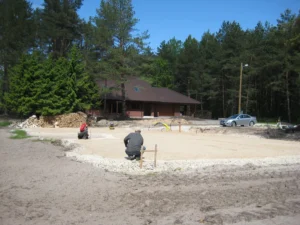
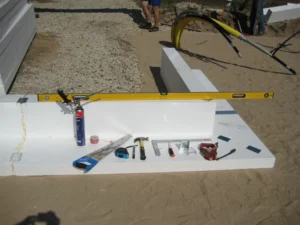
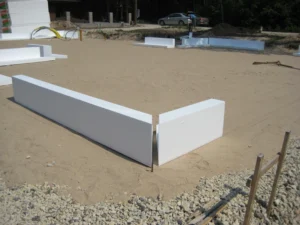
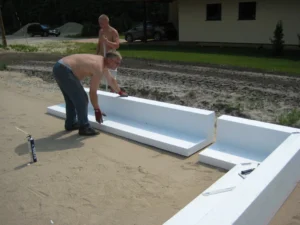
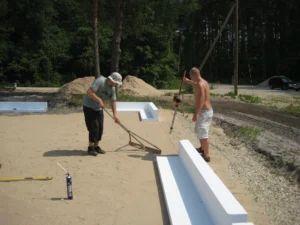
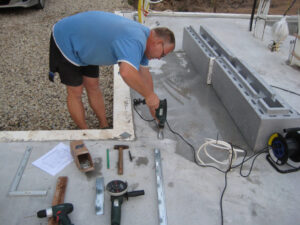
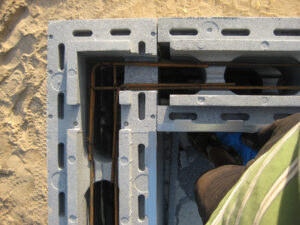
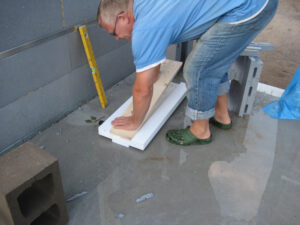
You only need simple tools to install EPS-scaffolding, L-Plokk blocks and insulation of the foundation (5). Start installing the L-Plokk blocks from the corners of the foundation. To do so, flatten and plumb the substratum with sand (6), cut tdown the ends of the L-Plokk by 45 degrees (7) and put the corner pieces on their place (8).
- 5
- 6
- 7
- 8
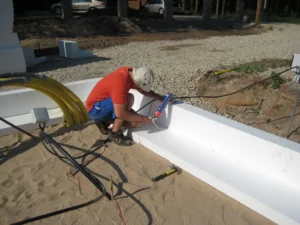
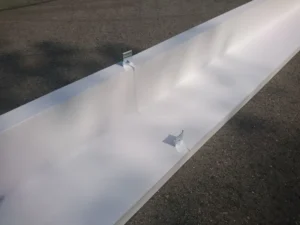
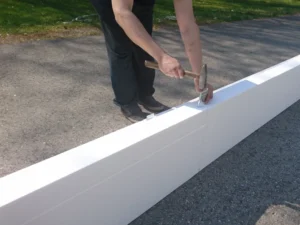
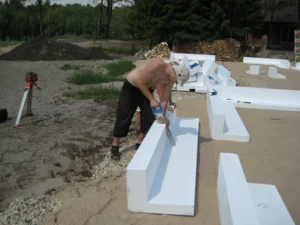
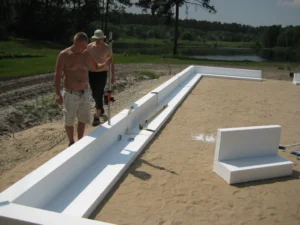
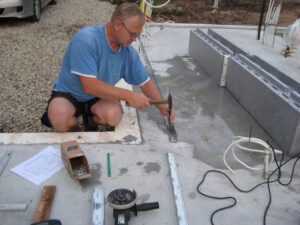
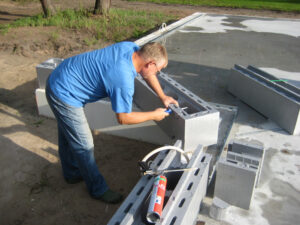
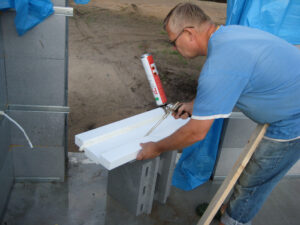
Next, install the L-Plokk blocks to connect the corners with each other (9), using construction foam (10) and about 10 cm long clamps cut from a skeleton belt profile (11, 13). To ease fastening of the braces, cut some groovs to clamps’ bench mark on the block’s edge, using a knife (12).
- 9
- 10
- 11
- 12
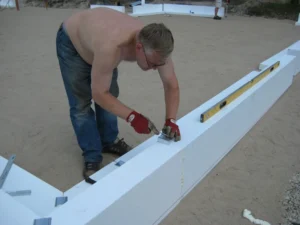
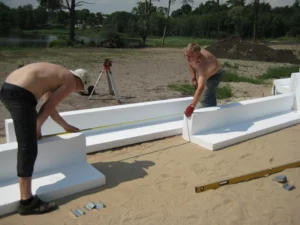
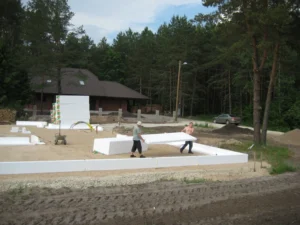
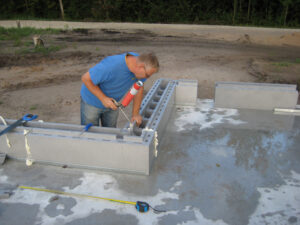
During the work, check that the whole perimeter is correctly plumbed (14); add or remove flattening sand if necessary. When installing the last pieces of L-Plokk, measure out their exact lenghts (15) and saw out pieces that are about 2 cm shorter (16), to leave space for construction foam during installing. When installing the block, ensure that the neighboring blocks do not move away from their position (17).
- 13
- 14
- 15
- 16
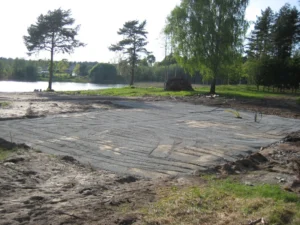
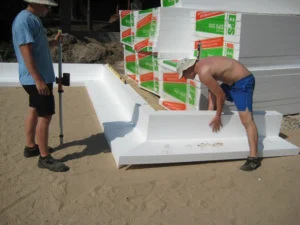
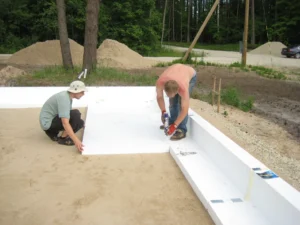
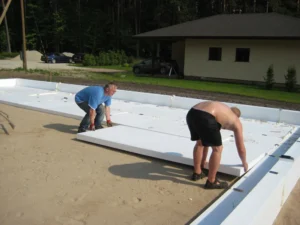
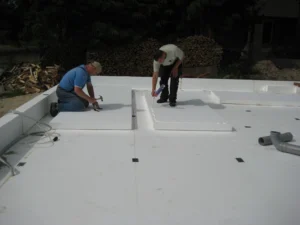
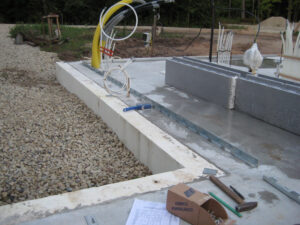
Use a wall cord and plummet to line up the foundation’s longitudinal direction (18). When the whole foundation’s perimeter is fringed with L-Plokk blocks, start to install the underground insulation layer (19). For that, we recommend to use EPS100 100 mm plates with size 1.2 x 3 m. You can save lots of time and fasteners by using big plates. Connect the plates to each other and with the L-Plokk’ edges (20) by using construction foam and mounting clamps (13).
- 17
- 18
- 19
- 20
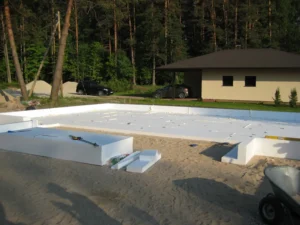
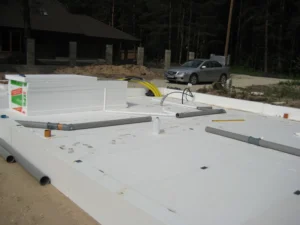
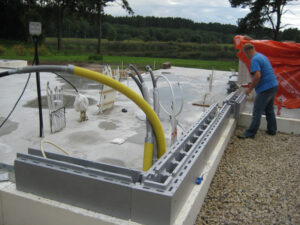
Install the plates so that their joints do not align (21). Cover the whole area under foundation with plates (22, 23). Install sewer piping and, if you wish, also electricity cables between two layers of insulation (24).
- 21
- 22
- 23
- 24
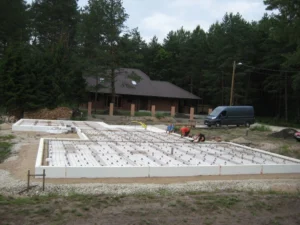
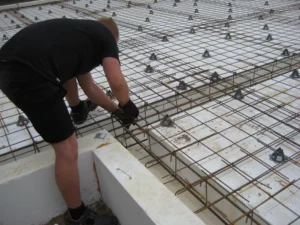
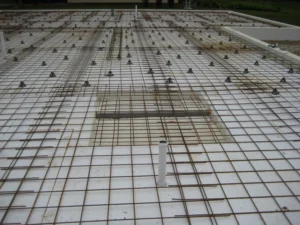
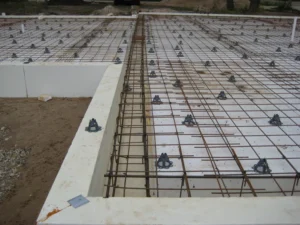
Install the next layer (or layers – depending on the height of the L-Plokk) of insulation, by glueing the layers to each other with construction foam (25). Such connected insulation plates will not move relative to each other and will create a monolite unit. Install the second layer 200-300 mm from the L-PLokk’s inner edge, to create a draught for pad footing. Create also the necessary draughts for bearing partition walls and for heavy installations above the floor (chimney, stoves) (28). Start to reinforce the foundation plate from installing of reinforcement web (6 x 150 x 150) (26). Next, install the needed reinforcements into the pad footing (on the outer perimeter 4×12 mm) and bind them to the web using ligaments (27).
- 25
- 26
- 27
- 28
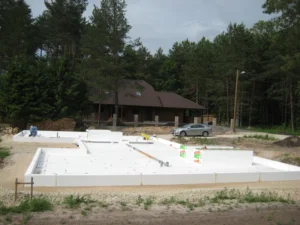
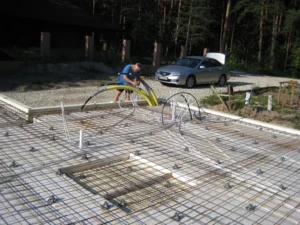
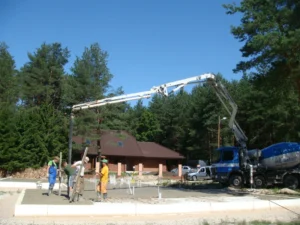
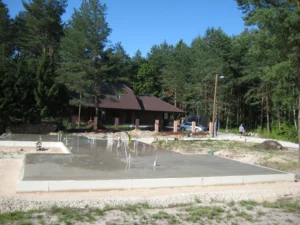
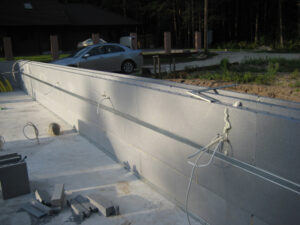
Lift the web and and the reinforcement rods on the reinforcement carriers (29). Install heating contures to the web and, if necessary, the yet not installed pipes/cables under the web (30). Now, the insulated and reinforced plate foundation framework without thermal bridges is ready. A L-Plokk perimeter is strong enough and does not require support during concrete casting. Order a concrete and a required amount of concrete (31) – craftsmen can handle the casting work within a couple of hours! After grinding the slab with a concrete grinder (32), the desired flooring can be immediately applied in the finishing stage of the building.
- 29
- 30
- 31
- 32
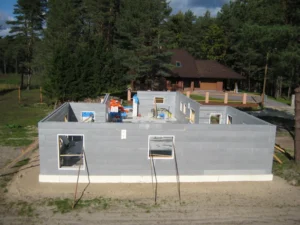
You have made a good decision by choosing TermoPlokk wall solution to your home’s external walls. By using TermoPlokk blocks, you get a highly heat-proof envelope very fast and with a low lobour input. Hereby, we describe shortly the wall building work process for those who have chosen plate foundation for the house.
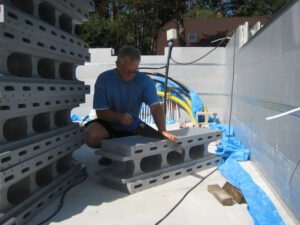
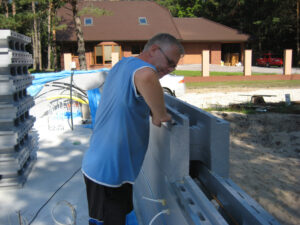
Please mark the internal contour of the external walls to the floor by using a marking core or a long plumb rule. Anchor a metal profile on the foundation by using nail plates (e.g. 6×40) (1, 2, 3). Use a knife or fine saw to cut off pieces from the corner block’s top (4) and bottom (5) side, such that the concrete can pour throught to the neighboring block.
- 1
- 2
- 3
- 4
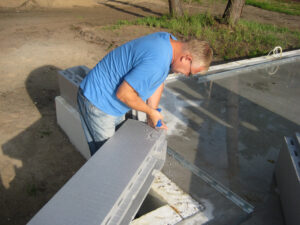
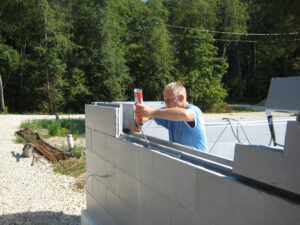
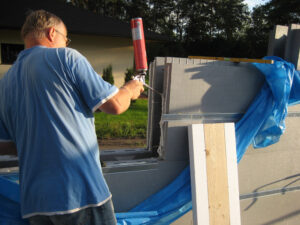
Measure out the corner block’s location and install first the corners (6) and then the row blocks between the corners (8). "Glue" all blocks to each other with construction foam (7) – such that the wall will become stiffer and needs less support later, during the concrete casting.
- 5
- 6
- 7
- 8
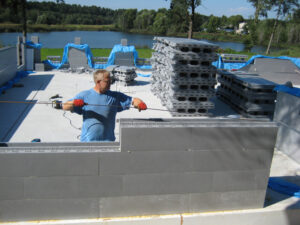
When installing the last block on the row (8), measure out the needed length of the block, mark it on the block and saw it to the required length with a hand saw (9). We recommend to pour a couple of shovelful of concrete to every block after finishing the first row, in order to firmly fix the lowest block row. Put 2×8 mm reinforcement bars on every row (10). Bind the bar joints and corners (11). If needed, you can also hide electrical cables inside of the wall (12).
- 9
- 10
- 11
- 12
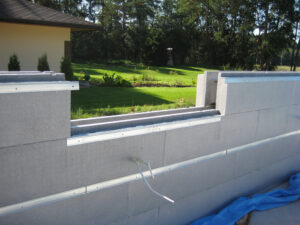
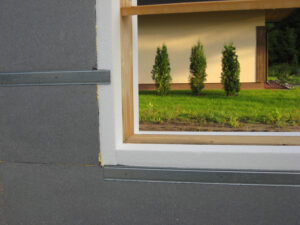
After every second row (60 cm), fasten a metal profile on the internal wall to ease the montage (13) of finishing materials (e.g. plaster board). Use power cutter to cut the material to the needed length. Be sure to attach the metal profile to the bottom and top edge (14). Cut the metal profile on the side of the aperture such that it also covers the side of the aperture profile (15). Glue the blocks by using construction foam (16).
- 13
- 14
- 15
- 16
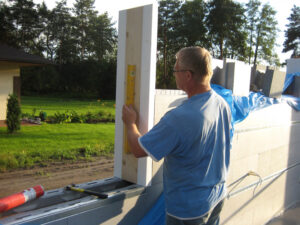
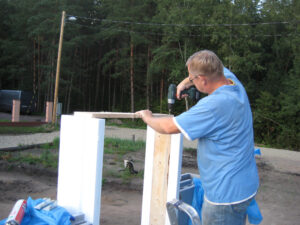
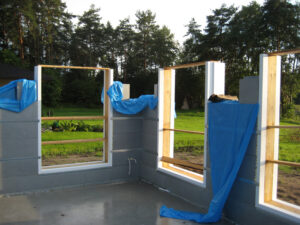
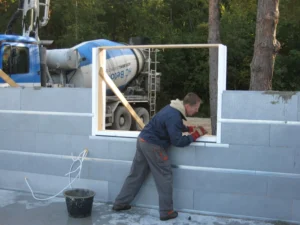
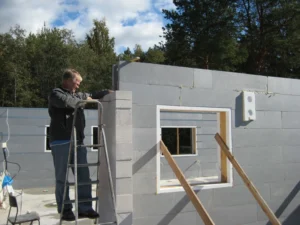
Measure out and saw the aperture profiles and the wooden frame (25×150) that have to be fasten to them with foam (17, 18), such that the vertical profiles are 55 mm longer, the lowest profile has exactly the same size, the top part of wooden frame is 55 mm longer and the top aperture profile is 110 mm longer than the aperture size. Fasten the aperture profiles (19, 20, 21). Prepare the lower aperture profile and test its suitability, but before concrete casting, mark them and put them next to the aperture.
- 17
- 18
- 19
- 20
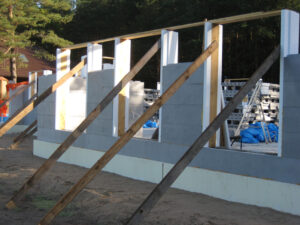
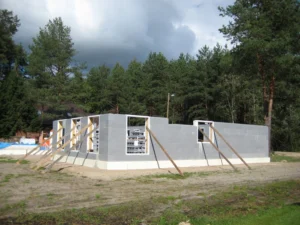
Stack 5 rows of the wall and prepare the wall to the first concrete casting. 5 rows is gives a wall hight that allowes to cast concrete without scaffold, and therefore the first casting is simply more convenient. The density of support depends on the shape of the walls, the presence of openings, and their size. Suitable cross-sectional timber should be used for support, ensuring the necessary rigidity for the walls during the casting process. It is recommended to use at least 50 x 100 mm sawn timber, which should be placed with sufficient density on both sides of the wall and fixed with diagonal supports to the ground or a pre-cast floor. Additionally, support the building corners and opposite sides of the openings (23).
- 21
- 22
- 23
- 24
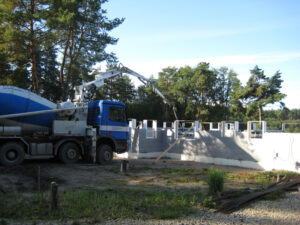
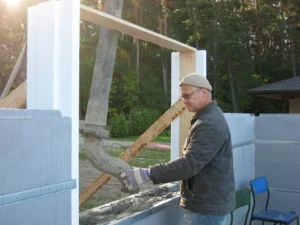
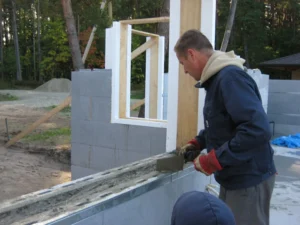
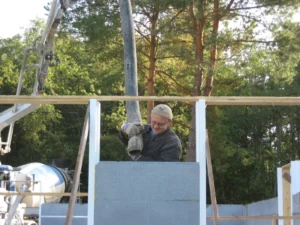
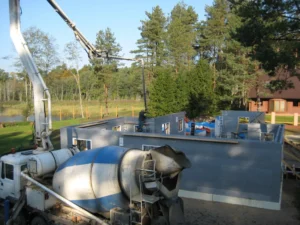
During concreting, it is essential to use an S-shaped nozzle at the end of the hose to calm the flow. The aggregate size in the concrete should be up to 10 mm, and the mixture should be fluid enough to ensure adequate flow. Given the high specific gravity of concrete (approximately 2.4 t/m³), any formwork filling must always be performed with caution, avoiding filling the blocks with large amounts and high flow rates at once! Begin concreting by filling the areas under openings, then place the opening profile on the filled part (27). Continue concreting to the top edge of the block row or until the concrete is exhausted (28). Formwork voids should be filled with sufficiently fluid concrete, and during or after pouring, it is not advisable to use a vibrator for compaction or to "tap" the formwork physically.
- 25
- 26
- 27
- 28
On the next day, after the concrete is hardened, you can continue installing the TermoBlocks (29). There is no need to use a corner block if you change the wall construction material. For support, use the wall part adjoining the TermoPlokk blocks (30). It is advisable to install the concealed utility networks (cables, ventilation units) before concrete casting (30). It is advisable to cut off the upper connection roller on the block on the last row. After you have stacked the whole wall to the wished height (31), calculate the precise amount of concrete, cast the block row even to the upper edge and flatten it (32).
- 29
- 30
- 31
- 32
Attention! TermoBlocks stored on the construction site are not suitable for use as work platforms or scaffolding. Damage to these products may reduce their resistance to poured concrete pressure.

